Glazed Ceramic
The workhorse. Affordable, durable, easy to clean, endless colors and shapes. Classic subway tile lives here.

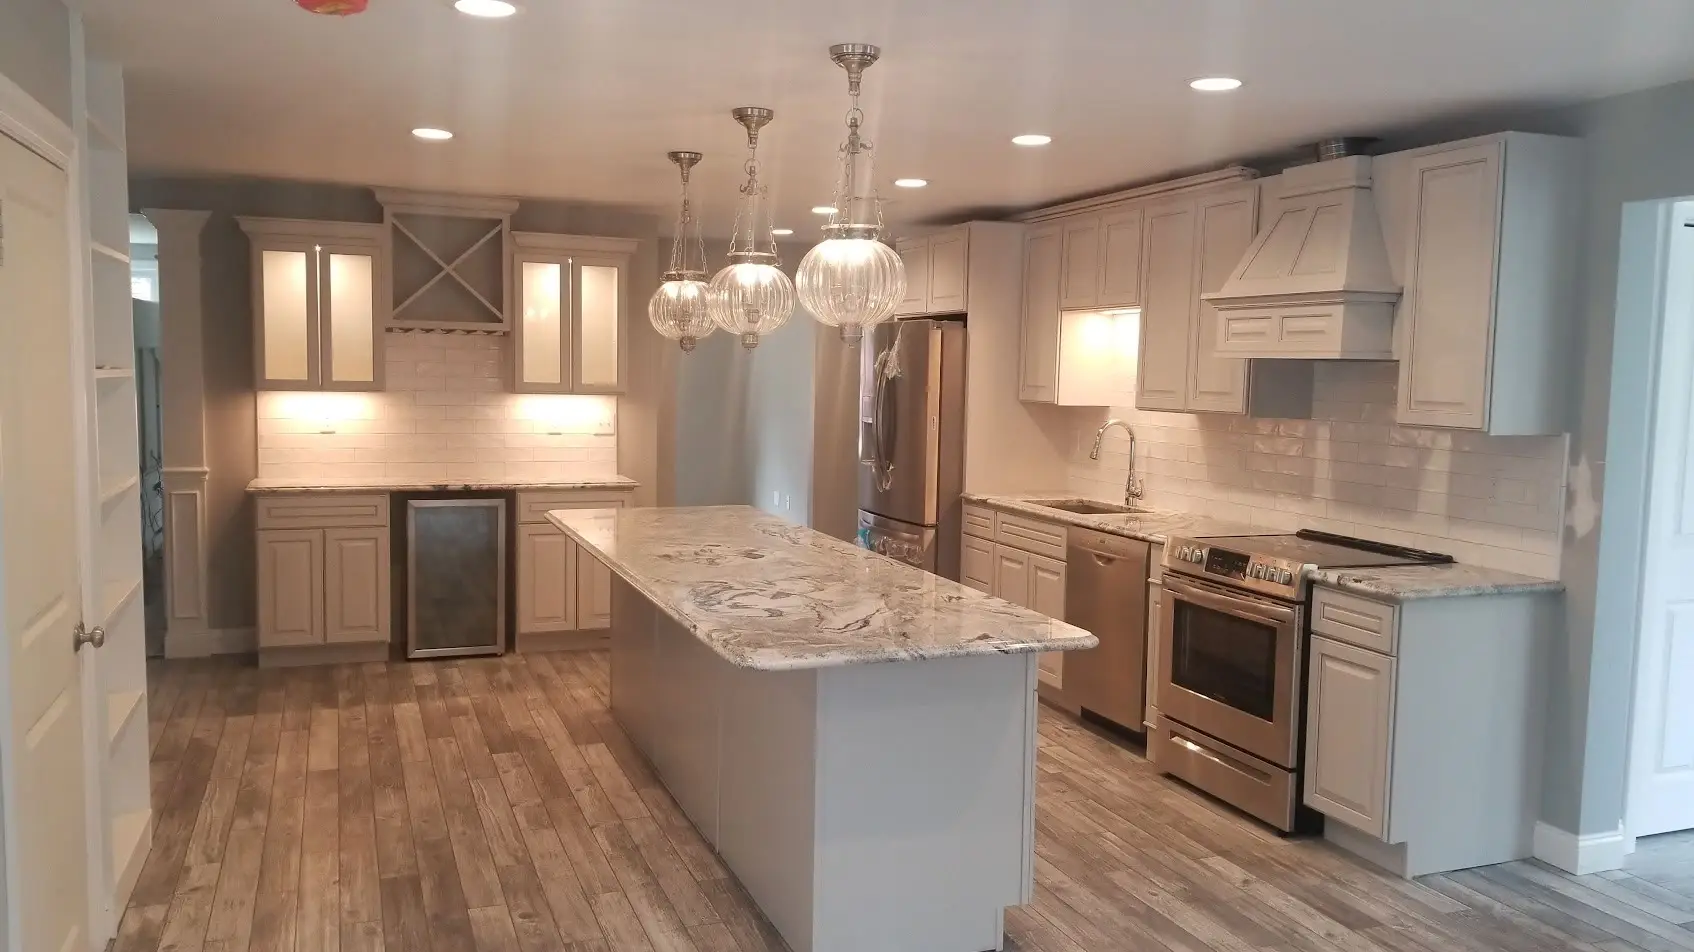
A well-set backsplash protects your kitchen walls and finishes the whole design. CJM Builders installs kitchen backsplash and tile for homeowners in North Reading, MA and the surrounding towns — ceramic, porcelain, glass, and natural stone, laid out with the kind of Old World-style craftsmanship that shows in every grout line.
Tile is one of those trades where the difference between done and done right is obvious from across the room.
The backsplash takes the daily punishment your painted walls can’t: grease behind the range, splashes around the sink, steam from every pot. Bare or painted drywall in those zones stains, bubbles, and eventually grows mildew.
Beyond protection, the backsplash is the kitchen’s jewelry. It sits at eye level, ties the countertop to the cabinets, and sets the room’s personality more than its square footage suggests. A dated or damaged backsplash can make a solid kitchen feel tired, and a new one can transform it in a few days, without touching anything else.
Each material behaves differently in a working kitchen. Here’s the honest rundown of the surfaces we set most.
We’ll help you weigh looks against maintenance during selection, and you can see full layouts at our Design Center & Showroom rather than judging from a single loose tile.
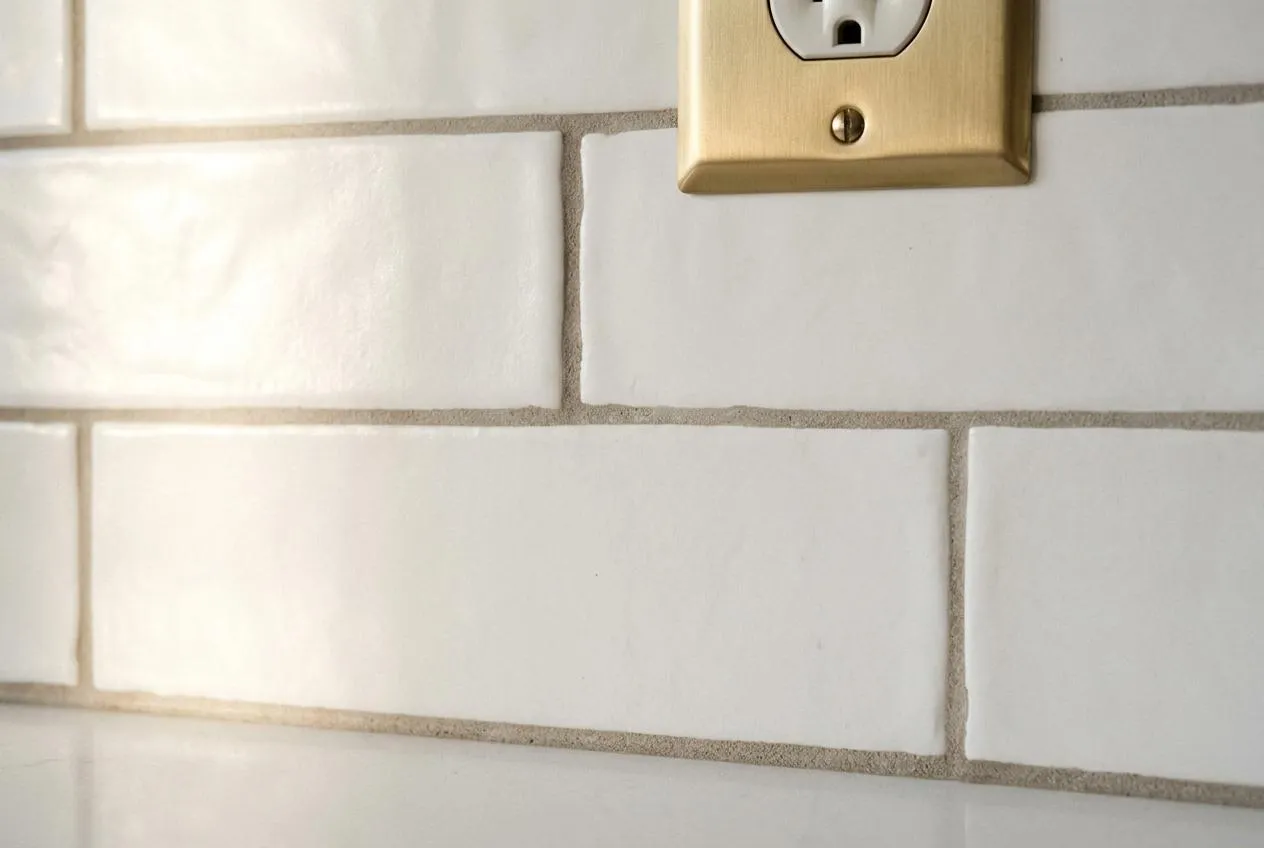
The workhorse. Affordable, durable, easy to clean, endless colors and shapes. Classic subway tile lives here.
Denser and harder than ceramic, nearly waterproof, excellent for heavy-use kitchens. Large-format porcelain panels minimize grout lines.
Non-porous and luminous; great for adding light to smaller kitchens. Requires careful setting to avoid visible adhesive shadows — a place where experience pays.
Marble, travertine, limestone, slate. Beautiful and one-of-a-kind, but porous: stone needs sealing at installation and periodic resealing afterward.
Herringbone, stacked, basketweave, hand-glazed zellige. Pattern work multiplies the cuts and layout planning, which is exactly why it’s worth having a pro do it.
Tile is unforgiving — every shortcut shows. Our backsplash installation covers the steps that make tile last:
We repair and flatten the wall first. Tile telegraphs every bump behind it, and adhesion depends on a sound surface.
We dry-plan the pattern so cuts land symmetrically, outlets fall on whole tiles where possible, and the focal wall centers properly behind the range.
The right mortar for the material, spaced and leveled as we go.
Color-matched grout, tooled clean. We’ll steer you toward stain-resistant grout in heavy-splash zones.
Stone and grout sealed as the material requires; flexible color-matched caulk where the backsplash meets the countertop, so seasonal movement doesn’t crack the joint.
Outlet extensions, edge trim, and a clean transition at cabinet ends — the finish details that separate professional work from a weekend job.
Most backsplashes take one to three days, including cure time between setting and grouting. It’s among the least disruptive kitchen projects we do — your kitchen stays usable nearly the whole time.
The backsplash is one of the last pieces of a kitchen project, installed after the countertops are in. Counters must be templated, fabricated, and set before tile can meet them cleanly — tiling first risks chipped tile during counter installation and a gap that never lines up.
So if you’re planning new kitchen cabinets and countertops, hold the backsplash decision until the counter is chosen; the two surfaces need to work together. And since the wall is already open for tile prep, it’s also the natural moment to add under-cabinet task lighting — we often pair backsplash work with kitchen lighting and electrical updates for exactly that reason.
A lot of the homes we tile in North Reading and the surrounding towns date from the early-to-mid 1900s, which means plaster walls, settled framing, and surfaces that are anything but flat. Tiling straight over old plaster or failing surfaces is how backsplashes crack within a year.
We prep these walls properly — skimming, patching, or replacing sections of the substrate so the tile bonds to something sound and the finished plane reads flat under your cabinet lighting. It’s slower than slapping tile on the wall. It’s also why our tile work, like the rest of our kitchen remodeling services, is built to look right for decades, not seasons.
A backsplash can be the finishing touch on a remodel or a standalone refresh, and either way we’d love to show you what good tile work looks like. CJM Builders serves Andover, Middleton, North Reading, Reading, Wakefield, Wilmington, and surrounding towns — licensed, insured, and local since 1992.
After. Countertops are installed first so the tile can sit cleanly on the finished surface, with one flexible caulk joint where they meet. Tiling first risks damage during counter installation and alignment gaps that can’t be fixed afterward.
Glazed ceramic and porcelain are the best all-around choices — durable, non-porous, and easy to clean. Glass is another low-maintenance option that brightens small kitchens. Natural stone is beautiful but porous, so it needs sealing and a bit more care. Pick by maintenance tolerance first, looks second.
Most kitchen backsplashes take one to three days: substrate prep and setting on day one, grouting after the mortar cures, then sealing and caulking. Intricate mosaics or full-height feature walls run longer. Your kitchen stays usable for nearly the entire project.
It’s possible, but we don’t recommend it. Doubling up adds thickness at outlets and counter edges, and the new tile is only as solid as the old layer beneath it. Removing the old backsplash and prepping the wall, especially in older homes with plaster, gives a flatter, longer-lasting result.